Learn the timeline before anything else
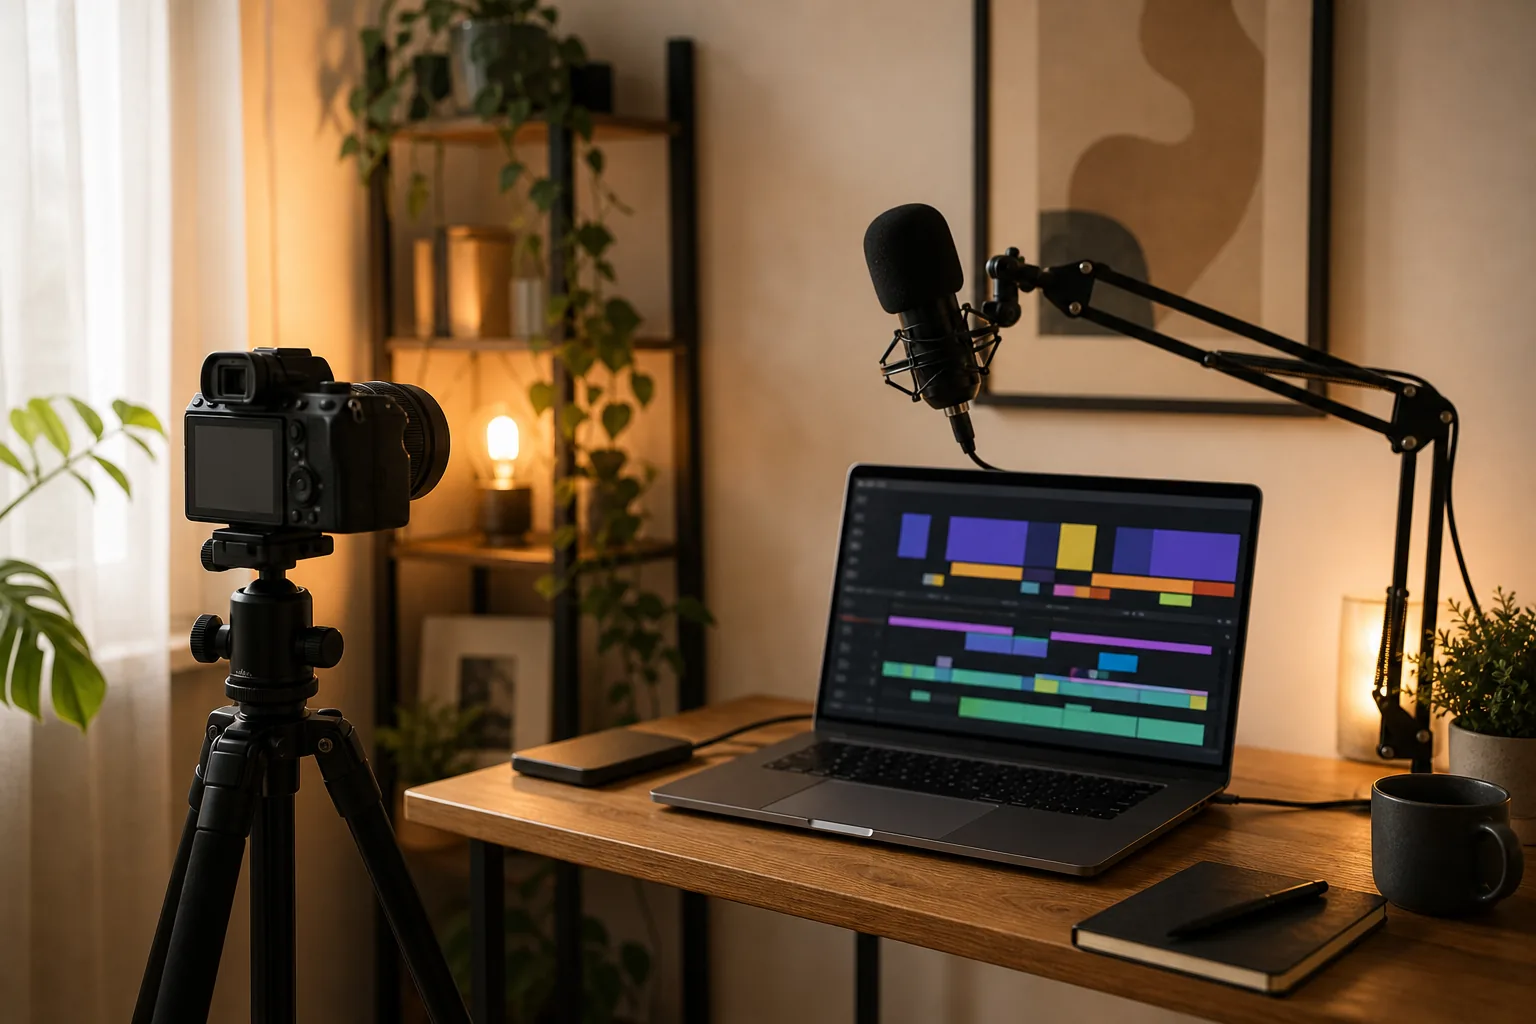
The timeline is the whole job. Clips sit on tracks, video tracks stack above audio tracks, and the playhead is where every action happens. Get fluent in three moves first: splitting a clip at the playhead, trimming its ends, and dragging it to a new position. Learn the keyboard shortcuts for these in week one, because mouse-only editing is roughly half speed. Set your sequence to match your footage (frame rate and resolution) before you drop the first clip; mixing 24p and 30p footage on one timeline creates judder that no amount of later fixing fully removes. Most editors, including the AI tools in our video editor reviews, will auto-match the sequence to the first clip you import, which is one of the few automatic features beginners should accept without checking.
Cut with ripple edits
A ripple edit is the difference between a tidy timeline and a minefield. When you trim or delete a clip with ripple mode on, everything downstream slides to close the gap. Without it, you get holes in the sequence and, worse, audio that drifts out of sync with the picture. Build the assembly pass with ripple deletes: go through your footage top to bottom, cut the dead air, the false starts, the second takes, and let the timeline collapse behind you. Do not touch music or transitions during this pass. A clean assembly of a ten-minute video should take under an hour, and most of that is watching, not cutting. One warning: on timelines with multiple tracks, ripple edits move everything, so lock your music track first.
Prefer cuts over transitions
Beginners reach for transitions because they are visible. Professionals cut on movement and let the footage carry the change. A hard cut is invisible when the subject is moving, when there is a sound to bridge it, or when the shot size changes enough (wide to close-up, never wide to slightly-less-wide). Dissolves mean time passing; use them for that and little else. Wipes, spins, and 3D cube effects date a video instantly. If two clips do not sit well together, the fix is usually a different clip or a cutaway, not a fancier transition. Keep one exception: a short dip to black works as a chapter break and reads as intentional even in rough edits.
Fix audio before color
Viewers forgive soft video. They do not forgive bad audio. Normalize dialogue first so speech sits at a consistent level across cuts, then bring music underneath it, roughly 15 to 20 dB below the voice, and duck it further under dialogue with keyframes or an auto-ducking tool. Watch the meters, not the speakers: dialogue peaking around minus 6 dB with room tone underneath is a safe target for web delivery. Cut or fade room tone into gaps so silence never drops to digital zero, which sounds like a mistake. If you record voiceover, record it in the quietest room you have rather than leaning on noise reduction; AI denoisers are good at hum and fans, but they smear consonants when pushed hard.
Grade with LUTs, carefully
Color grading a beginner edit means two things: making shots from different cameras match, then giving the sequence a consistent look. Correct first with white balance and exposure, shot by shot, on an adjustment layer or per clip. Only then apply a LUT at reduced intensity, usually 50 to 70 percent, because LUTs assume a specific starting image and yours is not it. If you shot log footage, convert it with the camera's technical LUT before creative grading; skipping that step is the most common reason beginner grades look washed out. Skin tones are your reference: if faces look natural under your grade, the rest will follow. The same discipline applies to stills, and our AI photo workflow guide covers the still-image version of the same process.
Export with sane settings
Export is where good edits go to die. For web upload, H.264 at a healthy bitrate is still the safe default: 1080p at 10 to 16 Mbps, 4K at 35 to 45 Mbps, AAC audio at 192 kbps or higher. H.265 cuts file sizes roughly in half at the same quality, but some platforms and older devices still choke on it. Match the frame rate of your sequence exactly; re-timing at export causes stutter. Bitrate matters more than resolution: a well-encoded 1080p file beats a starved 4K file every time. Export a short section first, upload it unlisted, and check it on a phone over cellular before rendering the full piece. Ten minutes of testing beats re-uploading a feature-length mistake.
None of this requires expensive software. Free editors handle every step above, and the paid tools in our AI video editor roundup mostly save time rather than add capability. Learn the timeline, respect audio, cut on movement, and your first ten videos will teach you more than any feature list. When you are ready to apply the same discipline to stills, start with our AI photo workflow guide.