Cull before you edit
The fastest edit is the one you never make. Import everything into one folder per shoot, then do a hard first pass: reject anything out of focus, badly exposed, or duplicated by a better frame. Most AI editors now offer auto-culling that groups similar shots and flags blink faces or motion blur. Treat those suggestions as a shortlist, not a verdict. Auto-culling is good at spotting technical failures and bad at spotting the frame with the best expression, which is usually the frame that matters. Aim to cut a 400-frame shoot down to 30 or 40 keepers before you touch a single slider. Every minute spent culling saves five in the edit, because AI cleanup and masking cost real time per image.
Convert RAW files with restraint
RAW conversion sets the ceiling for everything after it. Start with white balance and exposure, then recover highlights before you touch shadows, because shadow recovery lifts noise along with detail. Keep the profile neutral at this stage. Heavy contrast and saturation belong in the grade, not the conversion. If your tool offers AI noise reduction, apply it here at the RAW level rather than on a processed JPEG; the algorithms have far more data to work with and the results hold up at 100 percent. We compare noise reduction across tools in our AI photo editor reviews, and the gap between the best and worst is still wide. One habit worth building: zoom to 100 percent before and after every global adjustment.
Clean up with generative fill
Generative fill is the feature that sold most people on AI editing, and it is also the easiest to overuse. Use it for removals, not additions. Sensor dust, exit signs, a stranger's elbow at the edge of the frame: these are what the tool does well. Select slightly more than the object, include some surrounding texture, and let the model sample the area. Small selections almost always beat large ones. Removing a whole car from a busy street usually leaves smeared pavement and repeated brickwork that a viewer notices even if they cannot name it. Work on a duplicate layer so you can mask back parts of the fill that went wrong, and check edges at 200 percent before you move on.
Mask locally instead of editing globally
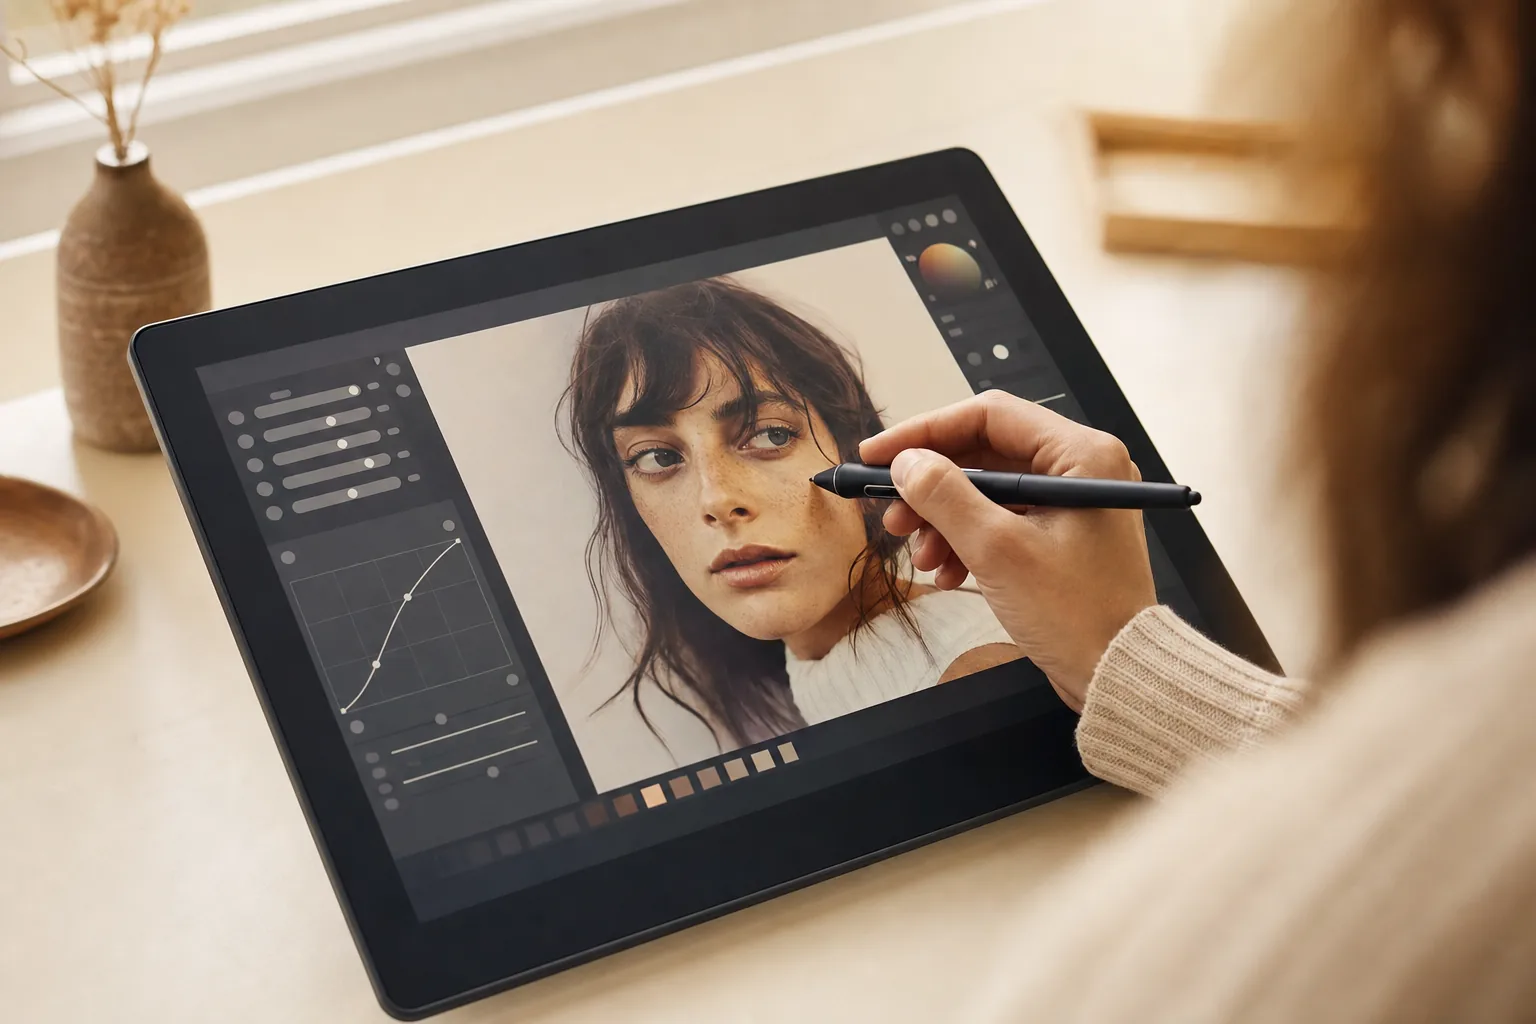
Global sliders are where edits go to look like presets. The subject's face needs different treatment than the sky behind it, and masking is how you split the two. AI subject and sky detection have gotten accurate enough to trust as a starting point: let the tool build the mask, then refine the edge yourself. Hair and tree lines are where auto masks still fail, so budget a minute with the brush at the boundary. Stack adjustments on separate layers: one for the sky, one for the subject, one for the foreground. That way the grade stays editable, and you can rebalance one region without re-doing the rest. Someone looking at the final image should not be able to tell where the masks were.
Grade color with intent
A grade is a decision about mood, and AI tools are happy to make that decision for you with one-click looks. Use them as sketches. Apply the suggested look at half strength, then adjust skin tones first, because viewers forgive a green sky faster than a gray face. LUTs are useful once you shoot in volume: build one from a frame you graded by hand and apply it across a set for consistency, then correct per image. Keep an eye on saturation in the reds and oranges, which clip earlier than other channels and take skin tones with them. If you also shoot video, the same grading logic carries over; our video editing basics guide covers how LUTs behave on a timeline.
Export for the destination
Export settings are not glamorous, but they decide whether your work survives the trip. For web use, export sRGB always, resize the long edge to the platform's limit instead of letting the site crush a full-size file, and use JPEG quality around 80 to 85, which is visually indistinguishable from 100 at a fraction of the size. For print, export 16-bit TIFF at 300 ppi in the printer's preferred color space and sharpen for matte or glossy paper separately. Apply output sharpening last, after resizing, never before. Save a master file with layers intact so the grade stays reversible. Then do the final check on the actual destination: upload one test image, view it on a phone in daylight, and only then batch the rest.
This sequence holds regardless of which tool you use, and that is the point. Features change every quarter; the order of operations does not. If you are still choosing software, our tested reviews of AI photo editors break down which tools handle each stage well, and the video editing basics guide covers the equivalent workflow once your images start moving.